
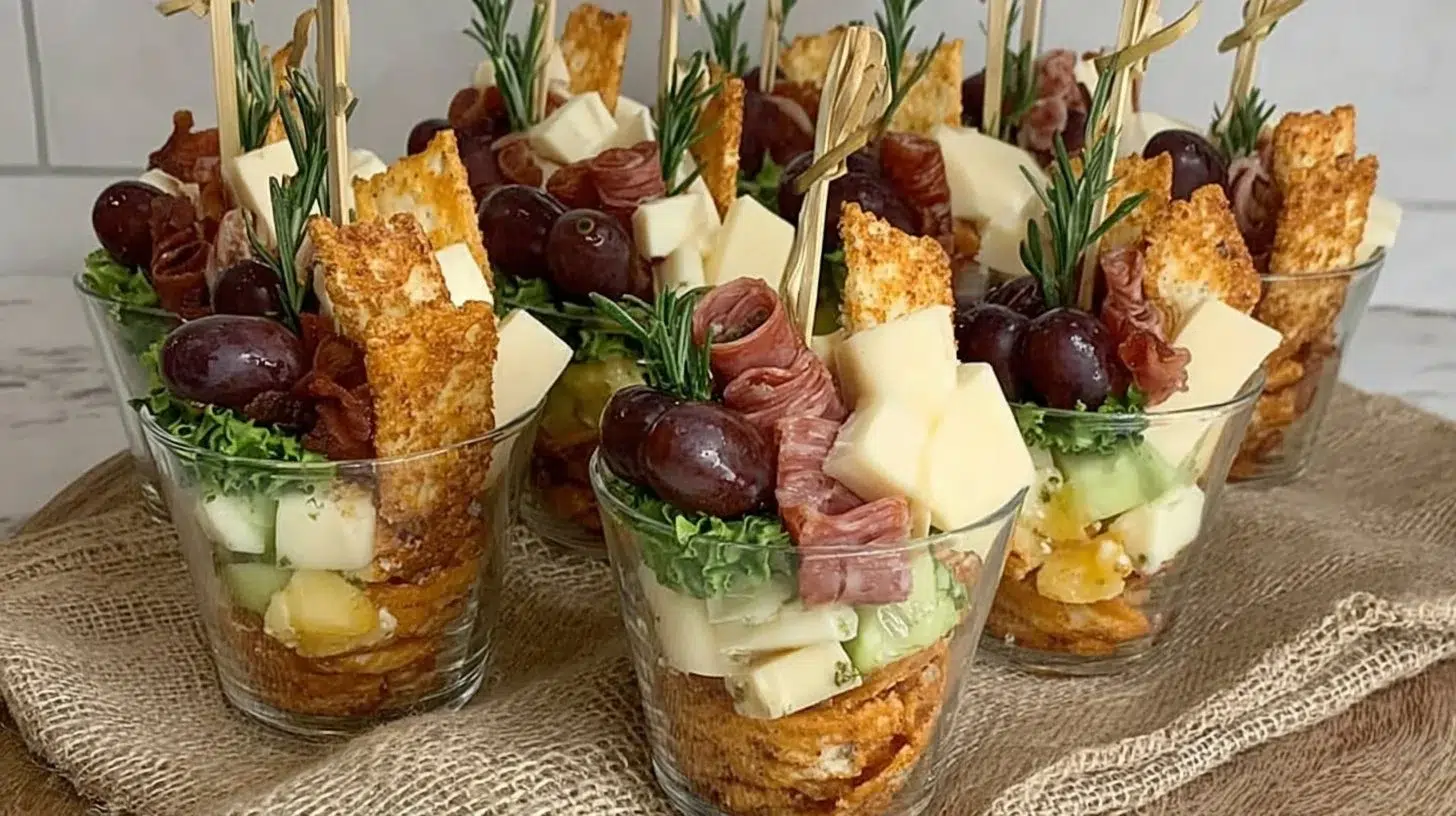
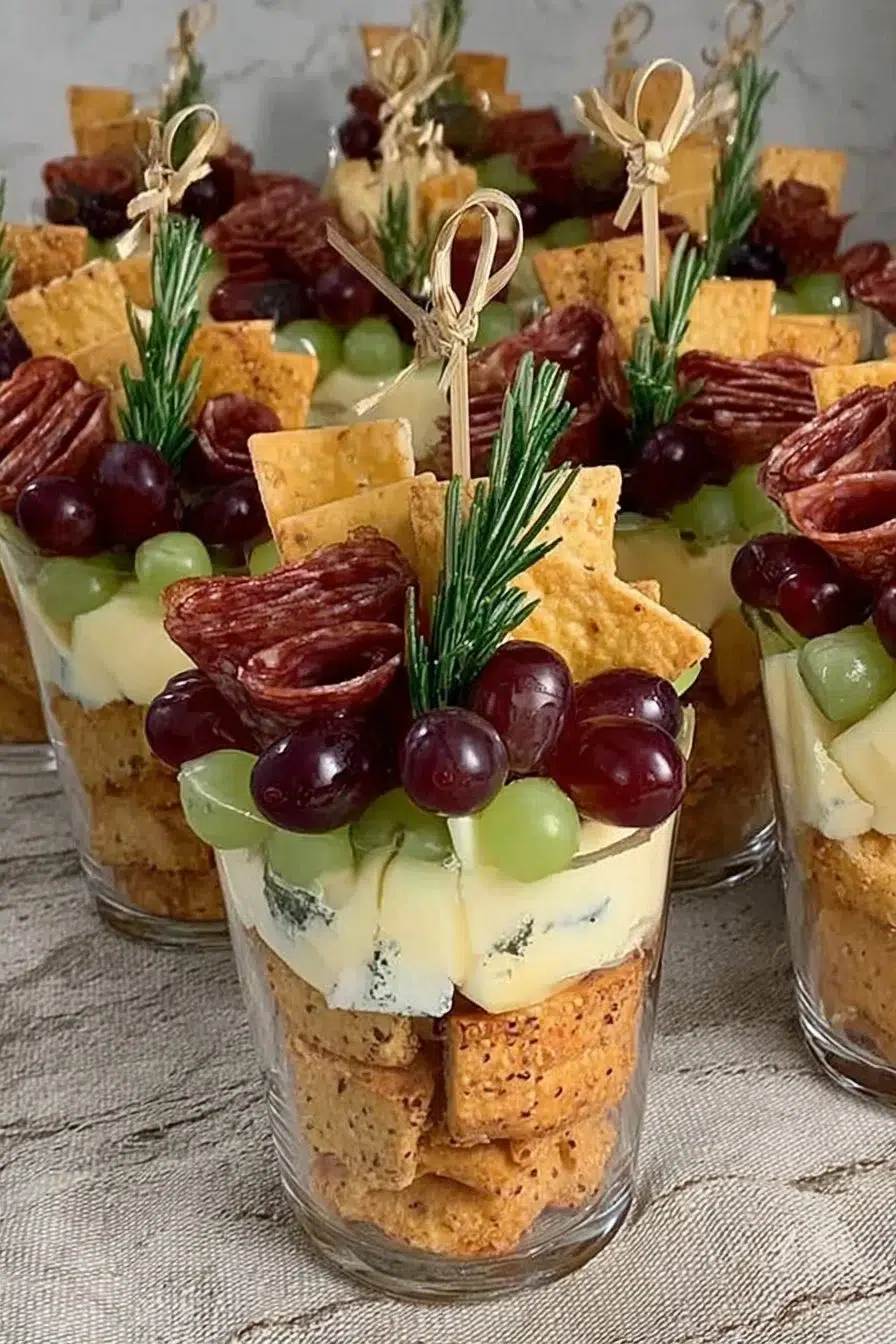
With their delightful combination of flavors and textures, Charcuterie Cups are a fantastic way to serve cheese and meats in a portable format. These visually appealing cups can make any occasion special, from casual get-togethers to festive parties. Perfect for sharing or enjoying solo, they are easy to assemble, allowing for personalization with your favorite ingredients. Plus, they invite creativity by letting you mix and match toppings! You may also find Easy Charcuterie Cups useful.
Why You’ll Love This Charcuterie Cups
- Customizable: Each cup can be tailored to individual tastes.
- Easy to Assemble: Simply layer ingredients and serve.
- Portable: Perfect for picnics, parties, or casual gatherings.
- Visually Stunning: A beautiful display guarantees wow factor.
- Diverse Flavors: A mix of savory, sweet, and crunchy.
- Make-Ahead Friendly: Prep them in advance to save time.
What Is Charcuterie Cups?
Charcuterie Cups are small, individual servings filled with an assortment of delectable ingredients like cheeses, cured meats, fruits, and nuts. Each cup bursts with flavor and offers a satisfying crunch and creaminess that pleases the palate. This dish combines the concept of a traditional charcuterie board with the convenience of single servings. They are perfect for casual entertaining, brunches, or any occasion where finger foods are a hit.
Ingredients for Charcuterie Cups
For the Base
- Assorted cheeses (cheddar, brie, gouda)
- Cured meats (salami, prosciutto)
For the Fillings
- Olives
- Nuts (almonds, walnuts)
- Fresh fruits (grapes, berries)
- Vegetables (carrot sticks, cucumber slices)
For the Dips
- Hummus
- Mustard
To Serve
- Small cups or containers
Ingredient Notes (Substitutions, Healthy Swaps)
- Cheeses: Feel free to swap in your favorite varieties, such as goat cheese or feta.
- Meats: If you prefer a vegetarian option, consider using marinated grilled vegetables or plant-based meats.
- Nuts: Any nut variety works well; try cashews or pistachios for a change.
- Fruits: Choose seasonal fruits for freshness, such as apple slices or orange segments.
- Dips: Various spreads can be included, such as tzatziki or a yogurt-based dip for different flavors.
Step-by-Step Instructions
Step 1 – Gather your ingredients:
Start by gathering all the ingredients and small cups.
Step 2 – Add the cheese:
Begin by adding a small portion of cheese at the bottom of each cup.
Visual cue: Aim for about 1-2 oz of cheese per cup for the best balance.
Step 3 – Layer the meats:
Next, layer in the cured meats. You can either fold or roll them for a nice presentation.
Step 4 – Add olives and nuts:
Follow with a handful of olives and nuts for added texture and flavor.
Step 5 – Include fresh fruits and vegetables:
Incorporate fresh fruits and veggies to add color and crunch to each cup.
Step 6 – Offer dips:
Drizzle your choice of dips on top or serve them on the side for guests to add as they please.
Step 7 – Refrigerate:
Prepare ahead of time and refrigerate until you are ready to serve.
Pro cue: Aim to assemble them 1-2 hours before serving for the freshest taste.
Pro Tips for Success
- Use high-quality ingredients for the best flavor.
- Keep similar flavor profiles together, such as pairing mild cheeses with sweeter fruits.
- Pre-portion ingredients to save assembly time.
- Experiment with different textures by adding crunchy breadsticks or crackers.
- Avoid overfilling to prevent spillage and ensure neat servings.
Flavor Variations
- Mediterranean Style: Add feta cheese, roasted red peppers, and artichokes.
- Sweet and Savory: Pair prosciutto with figs or honey.
- Spicy Kick: Include spicy olives or hot peppers.
- Vegan Version: Use plant-based cheeses and smoky tempeh.
- Breakfast Cups: Swap in granola and yogurt for a morning treat.
Serving Suggestions
- Pair with Bread: Serve alongside baguette slices or crackers.
- Accompanying Drinks: Offer sparkling water or iced tea for refreshing pairings.
- Presentation: Arrange cups on a large platter for a stunning display.
- Theme Parties: Tailor the ingredients to match seasonal themes or occasions.
Make-Ahead, Storage & Reheating
These charcuterie cups are excellent to make ahead. You can prepare them up to 24 hours in advance. Store them in the refrigerator until you are ready to serve. If they sit too long, some ingredients may lose their crunch, so try to avoid keeping them for extended periods.
Storage and Freezing Instructions
While these charcuterie cups are best enjoyed fresh, you can store them in the refrigerator for 1-2 days. Freezing is not recommended as it can alter the texture of cheese and fresh produce. Instead, make fresh cups as needed.
Nutrition Facts (Per Serving)
| Calories | Protein | Carbs | Fat | Fiber | Sodium |
|———-|———|——-|—–|——-|——–|
| 200 | 10g | 15g | 12g | 3g | 400mg |
Estimates vary by brands and portions.
FAQ About Charcuterie Cups
1. How thick should I slice the cheese?
Aim for about 1/4 inch thick slices for easy layering.
2. Can I make them vegetarian?
Yes, use only cheese, nuts, and vegetables as fillings.
3. What if the cups are too messy?
Make sure to keep portions balanced and avoid overfilling.
4. How do I keep the ingredients fresh?
Store assembled cups in airtight containers in the fridge.
5. Can I use different fruits?
Absolutely! Seasonal fruits can bring vibrant flavors to the cups.
6. How long can I leave them out?
It’s best to keep them at room temperature for no more than 2 hours.
Notes
- Use assorted colored cups for a cheerful look.
- Consider labeling each cup, especially for guests with dietary restrictions.
- For an upscale touch, use fancy toothpicks to serve.
- Add fresh herbs as a garnish for added aroma and flavor.
Troubleshooting
- Bland Taste: Add more flavorful ingredients like spices or diverse cheeses.
- Too Watery: Drain excess liquid from ingredients like olives or fruits before assembling.
- Burnt Edges: Ensure all ingredients are at room temperature before serving.
- Soggy Cups: Limit watery ingredients to maintain optimal texture.
Final Thoughts
Charcuterie Cups are a wonderful way to celebrate flavors and create a shared experience. With simple ingredients and a bit of creativity, you can impress guests and enjoy the delightful mix of tastes, colors, and textures. This recipe is not only a crowd-pleaser but also an invitation to express your culinary style.
Conclusion
As you explore the fun of making Charcuterie Cups, remember that the key to greatness lies in quality ingredients and creativity. If you’re looking to buy small containers or cups for this fun recipe, check out these options on Amazon.
Charcuterie Cups
Ingredients
For the Base
- 4 oz Assorted cheeses (cheddar, brie, gouda) Feel free to swap in your favorite varieties.
- 4 oz Cured meats (salami, prosciutto) Consider using vegetarian options like marinated grilled vegetables.
For the Fillings
- 1 cup Olives
- 1 cup Nuts (almonds, walnuts) Any nut variety works well; try cashews or pistachios.
- 1 cup Fresh fruits (grapes, berries) Use seasonal fruits for freshness.
- 1 cup Vegetables (carrot sticks, cucumber slices)
For the Dips
- 1/2 cup Hummus Various spreads can also be included.
- 1/4 cup Mustard
To Serve
- Small cups or containers
Instructions
Preparation
- Gather your ingredients and small cups.
- Add a small portion of cheese at the bottom of each cup (about 1-2 oz for balance).
- Layer the cured meats, folding or rolling them for presentation.
- Add a handful of olives and nuts for texture and flavor.
- Incorporate fresh fruits and veggies for color and crunch.
- Drizzle your choice of dips on top or serve them on the side.
- Refrigerate until you are ready to serve, aiming to assemble them 1-2 hours before serving.