
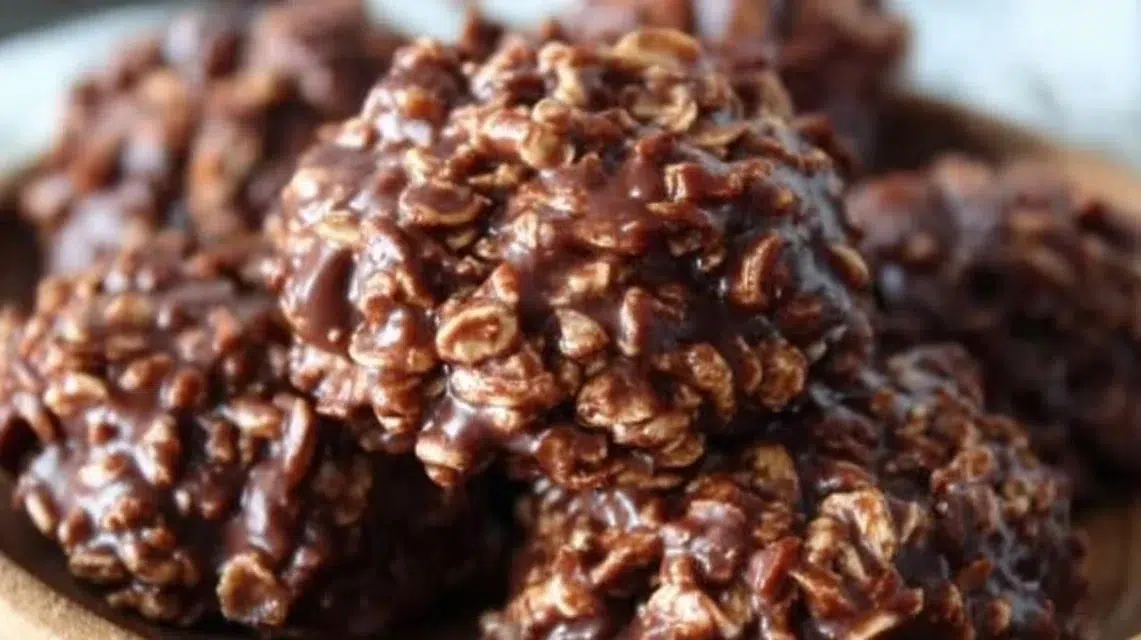
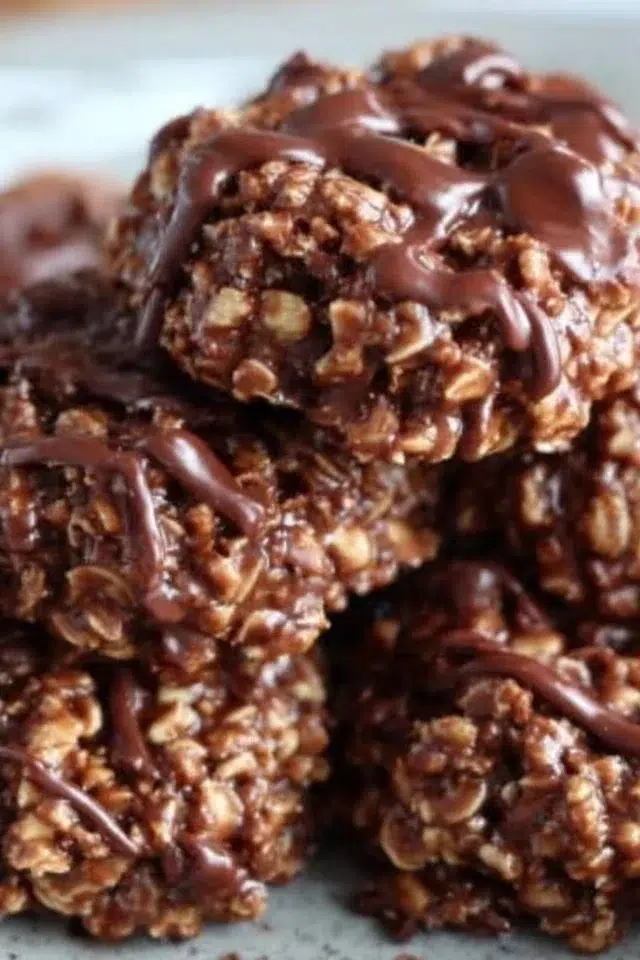
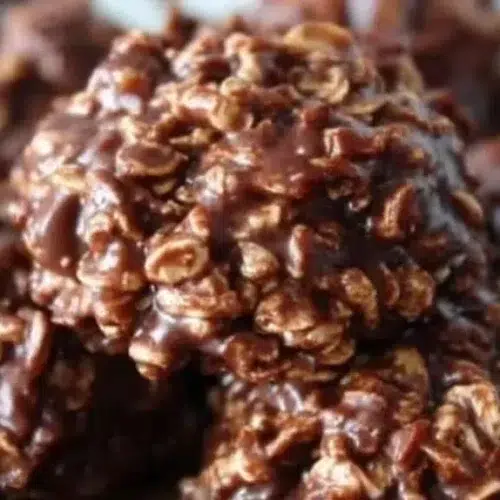
No-Bake Peanut Butter Chocolate Cookies are rich, fudgy, and satisfyingly chewy with a bold peanut butter flavor and a chocolate punch. The texture is soft and slightly chewy from quick oats, with a melt-in-your-mouth chocolate coating from cocoa and peanut butter. This recipe is special because it uses a simple stovetop mix and no oven, so you have cookies on the table in about 20 minutes. They are perfect for quick desserts, lunchbox treats, or a simple weeknight sweet. Try serving them chilled with a glass of cold milk or alongside a scoop of vanilla ice cream for a fast, crowd-pleasing dessert. Also check this handy brown butter chocolate chip cookies guide for another easy cookie idea: brown butter chocolate chip cookies recipe.
Why You’ll Love This No-Bake Peanut Butter Chocolate Cookies
- No oven needed — ready in about 20 minutes from start to finish.
- Simple pantry ingredients: peanut butter, sugar, cocoa, milk, vanilla, and oats.
- Rich, fudgy chocolate taste balanced by nutty peanut butter.
- Quick oats give a soft chew without long prep or special equipment.
- Great for making with kids — safe stovetop steps and easy drop-and-set method.
- Flexible: easy to tweak for texture or add-ins without breaking the recipe.
- Easy portion control — drop spoonfuls make individual cookies fast.
- Perfect for last-minute dessert needs and potlucks.
What Is No-Bake Peanut Butter Chocolate Cookies?
No-Bake Peanut Butter Chocolate Cookies are small, spoon-drop cookies made on the stovetop. You heat peanut butter, sugar, cocoa, and milk until smooth, stir in vanilla, mix in quick oats, then drop spoonfuls to set. The taste is a classic chocolate-peanut butter combo — sweet, slightly bitter from cocoa, and full-bodied with a creamy peanut butter finish. The texture is soft and chewy with a slightly fudgy center. This recipe feels like comfort food and works well for weeknights, after-school snacks, picnic treats, or an easy dessert when you don’t want to heat the house.
Ingredients for No-Bake Peanut Butter Chocolate Cookies
Main Ingredients
- 1 cup peanut butter
- 1 cup granulated sugar
- 1/2 cup unsweetened cocoa powder
- 1/4 cup milk
- 1 teaspoon vanilla extract
- 2 cups quick oats
(Use the quantities above exactly for best results. You may add small optional extras listed in Variations.)
Ingredient Notes (Substitutions, Healthy Swaps)
- Peanut butter: Use smooth or crunchy depending on texture preference. Natural peanut butter is fine but may make cookies slightly looser; stir oil back into natural peanut butter before measuring.
- Sugar: Granulated white sugar gives the right structure and shine. For slightly less sweetness try 3/4 cup granulated sugar (optional), but texture changes a bit.
- Cocoa powder: Unsweetened natural cocoa is best. Dutch-processed cocoa will work but can change flavor depth slightly.
- Milk: Any dairy milk works. For a dairy-free option, use unsweetened almond milk, oat milk, or another plant milk (optional) — results are slightly less rich.
- Quick oats: Do not use steel-cut oats. Rolled oats work but give a chewier texture; quick oats create the classic no-bake cookie chew.
- Vanilla: Adds flavor lift. You can omit but don’t skip if you want the best flavor.
Step-by-Step Instructions
Step 1 – Combine the wet and dry base
In a saucepan over medium heat, add 1 cup peanut butter, 1 cup granulated sugar, 1/2 cup unsweetened cocoa powder, and 1/4 cup milk. Stir constantly until the mixture is smooth and warm and the sugar begins to dissolve.
Visual cue: The mixture should look glossy and fluid, not lumpy.
Step 2 – Remove and add vanilla
Remove the pan from the heat and immediately stir in 1 teaspoon vanilla extract. Mix until the vanilla is fully combined.
Pro cue: Removing from heat before adding vanilla keeps its aromatic flavor bright.
Step 3 – Add the oats
Add 2 cups quick oats to the warm chocolate-peanut mixture. Stir with a sturdy spoon until the oats are evenly coated and the mixture thickens enough to hold its shape when scooped.
Visual cue: The batter will turn from runny to thick and hold a small mound on the spoon.
Step 4 – Drop onto wax paper
Use a spoon or cookie scoop to drop spoonfuls of the mixture onto a sheet of wax paper or parchment. Space them a couple inches apart to give each cookie shape.
Pro cue: For uniform cookies, use a 1.5-tablespoon scoop.
Step 5 – Let set
Let the cookies cool at room temperature until they set, about 15–30 minutes. For faster setting, place them in the refrigerator for 10–15 minutes. Enjoy your cookies once set.
Pro Tips for Success
- Heat gently: Use medium heat and stir constantly to avoid burning sugar or peanut butter.
- Watch the sugar: Stop heating once the mixture is smooth and warm — you don’t need to reach a candy stage.
- Measure oats by loosely packed cups for the intended texture.
- Use a sturdy spoon or spatula to mix — the batter is thick once oats are added.
- Chill to speed setting: Refrigerate for 10–15 minutes for firmer cookies.
- If mixture is too dry, add a splash (1–2 teaspoons) of milk to help bind.
- If too loose, add up to 1/4 cup more quick oats, one tablespoon at a time, until it firms.
- Line the tray with wax or parchment paper to prevent sticking and for easy cleanup.
Flavor Variations
- Peanut butter cup version (optional): Stir in 1/4 cup mini chocolate chips or chopped peanut butter cups after oats are mixed.
- Honey or maple twist (optional): Replace up to 1/4 cup of sugar with honey or maple syrup for a different sweetness profile; reduce milk slightly to keep texture.
- Nut swap (optional): Replace peanut butter with almond or cashew butter for a different nutty flavor (texture slightly different).
- Coconut crunch (optional): Mix in 1/4 cup unsweetened shredded coconut for texture after oats are combined.
- Chocolate boost (optional): Add 1–2 tablespoons melted dark chocolate to the saucepan when stirring in vanilla for deeper chocolate flavor.
- Salted top (optional): Sprinkle a small pinch of flaky sea salt on each cookie before they set for a salty-sweet finish.
Serving Suggestions
- Serve chilled with a tall glass of cold milk to cut sweetness.
- Plate with a scoop of vanilla ice cream for a quick sundae.
- Arrange on a simple platter with fruit slices (bananas or strawberries) for a snack tray.
- Pack in lunch boxes with a piece of fruit for a balanced treat.
- Bring to potlucks or casual parties on a parchment-lined tray — they travel well.
- Pair with coffee or hot chocolate for a cozy dessert break.
Make-Ahead, Storage & Reheating
- Make-ahead: You can prepare the full cookies and store them ready to serve. They set fully and keep their texture.
- Storage duration: Store cookies in an airtight container at room temperature for up to 3 days. For firmer texture, refrigerate for up to 10 days.
- Reheating: No reheating needed. If you prefer a softer, warm cookie, microwave one cookie for 6–8 seconds. Do not microwave too long — they melt quickly.
- Texture changes: Room temperature cookies are soft and chewy. Refrigerated cookies will be firmer and slightly denser.
Storage and Freezing Instructions
- Short-term storage: Airtight container at room temperature for up to 3 days; refrigerate to extend up to 10 days.
- Freezing: These cookies freeze well. Flash-freeze on a tray for 1 hour, then transfer to a freezer-safe bag or container. Freeze up to 3 months.
- Thawing: To thaw, move cookies to the refrigerator for 1–2 hours, or sit at room temperature for 30–60 minutes.
- Note: Texture after freezing may be slightly drier. To refresh, let thaw at room temperature for a short time or microwave briefly (5–8 seconds).
Nutrition Facts (Per Serving)
Assumes recipe makes about 18 cookies. Estimates are approximate.
Calories | Protein | Carbs | Fat | Fiber | Sodium
173 | 5.4 g | 21.5 g | 8.5 g | 2.5 g | 85 mg
Estimates vary by brands and portions.
FAQ About No-Bake Peanut Butter Chocolate Cookies
Q: Why are my cookies too wet and won’t set?
A: The mixture may not have been warm enough to dissolve the sugar or you added too much milk. Warm the mixture again briefly and add a tablespoon of quick oats at a time until it firms.
Q: Why are my cookies crumbly and too dry?
A: You may have used too many oats or heated the mixture too long so it dried out. Stir in 1–2 teaspoons of milk or a small spoonful of peanut butter to bring them together.
Q: Can I use regular rolled oats instead of quick oats?
A: Yes, but the texture will be chewier and more rustic. You may want to pulse rolled oats briefly in a food processor for a finer texture.
Q: How do I adjust sweetness?
A: Reduce sugar to 3/4 cup for less sweet cookies or add a tablespoon of honey or maple syrup for a different sweet note (the texture changes slightly).
Q: Will natural peanut butter work?
A: Yes. Stir the oil back into natural peanut butter before measuring. The cookies may be a bit looser; add a little extra oat if needed.
Q: Can I make these nut-free?
A: Use a safe seed butter (sunflower or soy butter) in place of peanut butter. The taste will differ slightly but the method is the same.
Notes
- Use a medium saucepan and stir constantly to prevent sticking and burning.
- Scoop cookies with a measuring spoon or small ice cream scoop for consistent shape.
- Press the top lightly with the back of the spoon if you want flatter cookies.
- For glossy finish, stir the mixture until fully smooth before adding oats.
- Serve on parchment or wax paper — makes cleanup quick.
- Chill briefly for a clean snap if you like firmer cookies.
Troubleshooting
Issue: Sugar crystallizes and looks grainy.
Fix: Heat gently and stir until smooth. If sugar still grainy, add 1–2 teaspoons milk and warm briefly while stirring.
Issue: Mixture burns on bottom of pan.
Fix: Move to a cool burner immediately and transfer to a clean saucepan if bits burned. Use lower heat and stir continuously next time.
Issue: Cookies are too soft after cooling.
Fix: Refrigerate for 10–20 minutes to firm. For future batches, add up to 1/4 cup more oats.
Issue: Mixture sets too quickly in the pan.
Fix: Work fast to add oats and drop spoonfuls. Remove pan from heat immediately as soon as it’s smooth.
Issue: Cookies stick to wax paper.
Fix: Use parchment instead of wax paper, or lightly spray paper with nonstick spray before dropping.
Issue: Flavor is flat or bland.
Fix: Add the full teaspoon of vanilla and consider a small pinch of salt (optional) to lift flavors in next batch.
Final Thoughts
These No-Bake Peanut Butter Chocolate Cookies are fast, forgiving, and full of classic flavor. They come together with basic ingredients and little fuss, making them a reliable go-to when you want a quick homemade treat. Try the variations and storage tips to make them fit your taste and schedule.
Conclusion
For another take on quick chocolate-peanut butter no-bake treats, see this trusted recipe for Chocolate Peanut Butter No Bake Cookies.
No-Bake Peanut Butter Chocolate Cookies
Ingredients
Main Ingredients
- 1 cup peanut butter Smooth or crunchy based on preference.
- 1 cup granulated sugar For less sweetness, reduce to 3/4 cup.
- 1/2 cup unsweetened cocoa powder Natural cocoa preferred.
- 1/4 cup milk Any dairy milk or dairy-free option.
- 1 teaspoon vanilla extract Essential for flavor.
- 2 cups quick oats Do not substitute with steel-cut oats.
Instructions
Preparation
- In a saucepan over medium heat, add peanut butter, sugar, cocoa powder, and milk. Stir constantly until the mixture is smooth and warm.
- Remove from heat and stir in vanilla extract until fully combined.
- Add quick oats to the mixture and stir until evenly coated.
- Drop spoonfuls of the mixture onto wax paper or parchment, spacing them apart.
- Allow cookies to cool at room temperature until set, about 15–30 minutes. For quicker setting, refrigerate for 10–15 minutes.